Building Your Custom PC: A Step-by-Step Guide
Building your custom PC can be daunting, especially if you are new to the world of computer hardware. However, with a little research and some basic knowledge, you can build a custom PC that meets your specific needs and preferences. In this article, we will walk you through the steps of building your custom PC, from choosing the right components to assembling your computer.
Step 1: Determine Your Budget and Purpose
Before you start selecting components, it is important to determine your budget and purpose. Decide how much money you are willing to spend and what you plan to use the computer for. Are you building a gaming PC, a workstation, or a general-purpose computer? These factors will influence the components you choose.
Step 2: Select Your Components
The most important components of your custom PC are the CPU, GPU, motherboard, RAM, storage, and power supply. When selecting these components, it is important to ensure that they are compatible with each other. You can use online compatibility checkers to make sure that the components you choose are compatible.
- CPU: The CPU is the brain of your computer. Intel and AMD are the most popular CPU manufacturers. Make sure to choose a CPU that is compatible with your chosen motherboard.
- GPU: The GPU is responsible for rendering graphics. If you are building a gaming PC, a high-end GPU is essential. Nvidia and AMD are the most popular GPU manufacturers.
- Motherboard: The motherboard is the foundation of your PC. It connects all the components and provides power to them. Make sure to choose a motherboard compatible with your CPU and GPU.
- RAM: RAM is responsible for multitasking and running applications. Choose RAM that is compatible with your motherboard.
- Storage: Storage is where you store your operating system, applications, and files. There are mainly two common storage types: solid-state drives (SSDs) and hard disk drives (HDDs). If you compare both types, SSDs are faster but more expensive than HDDs.
- Power Supply: The power supply provides power to all the components in your PC. Make sure to choose a power supply that has enough wattage to power your components.
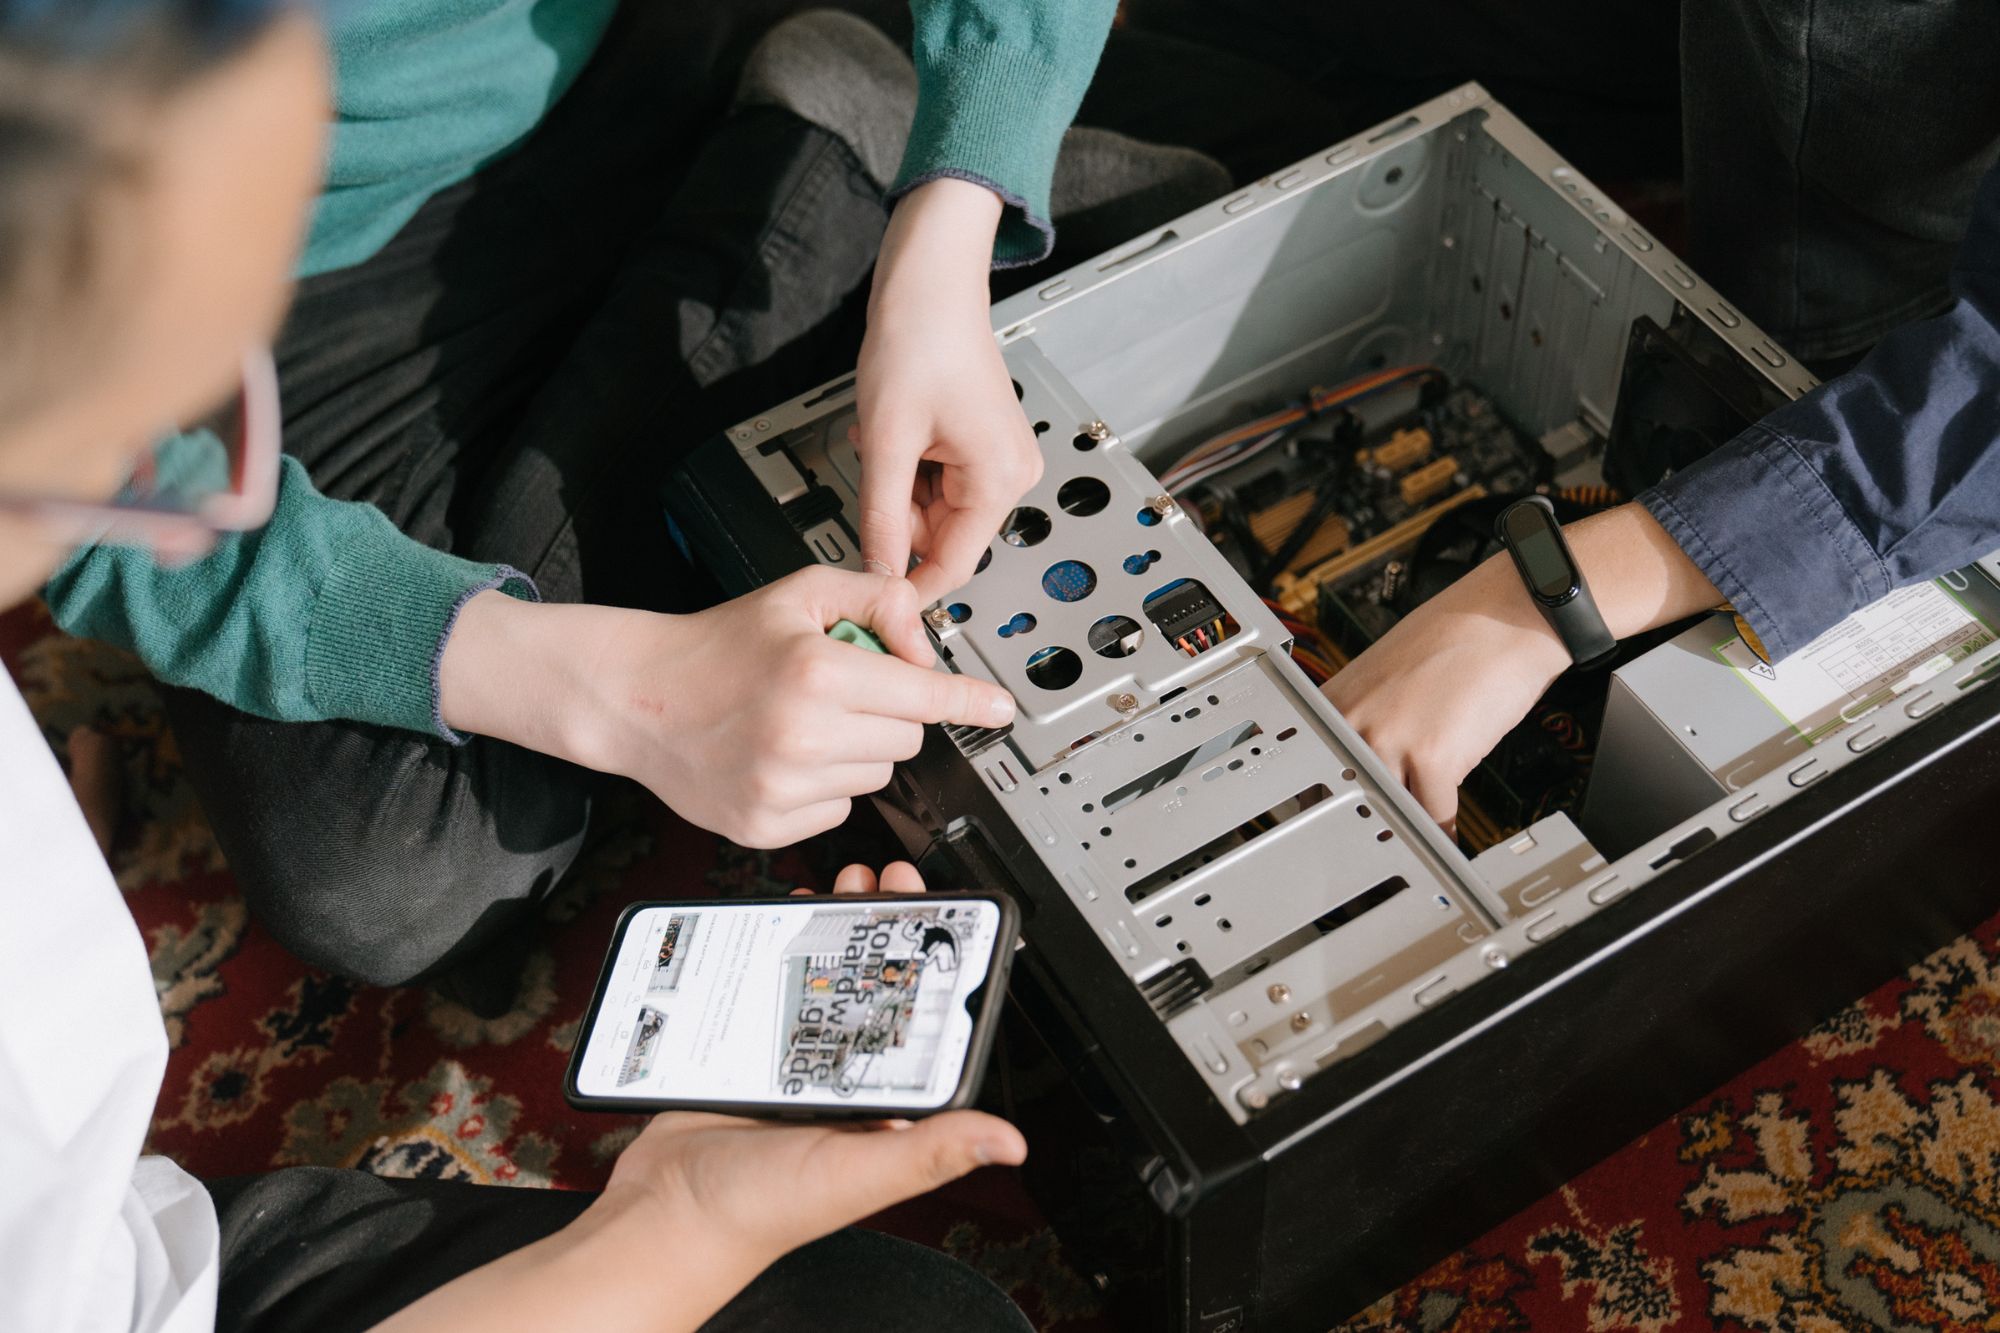
Step 3: Assemble Your PC
Once you have selected your components, it is time to assemble your PC. Follow these steps to assemble your PC:
- Install the CPU onto the motherboard.
- Install the RAM onto the motherboard.
- Install the motherboard into the PC case.
- Install the power supply into the PC case.
- Install the storage devices into the PC case.
- Connect the cables from the power supply to the components.
- Install the GPU onto the motherboard.
- Connect the monitor, keyboard, and mouse to the PC.
Step 4: Install Your Operating System and Drivers
After you have assembled your PC, it is time to install your operating system and drivers. You can install an operating system such as Windows or Linux from a USB drive. Once the operating system is installed, you will need to install the drivers for your components. You can download the drivers from the manufacturer’s website.
Step 5: Test Your PC
Once you have installed your operating system and drivers, it is time to test your PC. Make sure that all the components are working properly and that your PC is running smoothly. You can use benchmarking software to test the performance of your PC.
Conclusion
In conclusion, building a custom PC can be a rewarding experience. By following these steps, you can build a PC that meets your specific needs and preferences. Remember to do your research, choose compatible components, and assemble your PC carefully. With a little patience and attention to detail, you can build a custom PC that will provide you with years of reliable service.